
A 3D printer is a machine that creates three-dimensional objects by adding material layer by layer, based on a digital design. This process is known as additive manufacturing. Unlike traditional manufacturing, which often removes material (like carving or cutting), 3D printers build objects from the ground up—one slice at a time.
How Does a 3D Printer Work?
3D printing, also known as additive manufacturing, is a process of creating physical objects from digital models by building them layer by layer. While the concept might seem futuristic, the way a 3D printer works is surprisingly logical and fascinating. Here’s a step-by-step breakdown of how it happens:
- 1-Designing the Object
- The process begins with a 3D model. This digital file acts as a blueprint for the object to be printed. You can design your own model using 3D modeling software like Tinkercad, Fusion 360, or Blender, or download ready-made models from online libraries such as Thingiverse or MyMiniFactory.
- 2-Slicing the Model
- Before printing, the 3D model needs to be prepared using a program called a slicer. This software converts the digital model into thin horizontal layers and generates a set of instructions for the printer. These instructions, written in a language called G-code, tell the printer exactly how to move, how fast to go, and where to deposit material.
3-Preparing the Printer
Next, you prepare the 3D printer. This includes:
- Loading the filament, the material used for printing (commonly PLA or ABS plastic).
- Leveling the print bed to ensure the surface is even.
- Setting the correct temperature for the nozzle and bed, depending on the filament type.
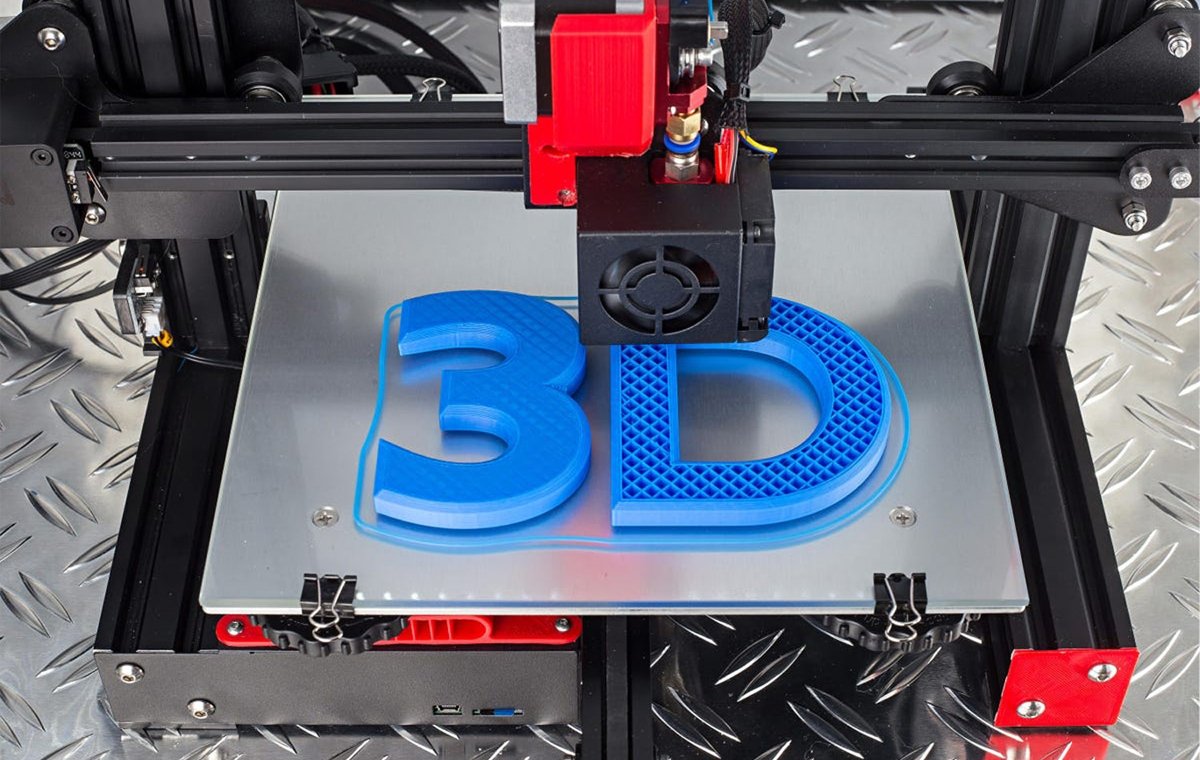
4-Printing the Object
Once everything is ready, the printer begins to build the object layer by layer. Here’s how it works:
- The nozzle heats up and melts the filament.
- The melted material is extruded through the nozzle and laid down onto the print bed.
- The printer moves along the X, Y, and Z axes, following the G-code instructions.
- As each layer cools and hardens, the next layer is added on top until the object is complete.
Depending on the size and complexity of the model, printing can take anywhere from a few minutes to several hours.
5-Post-Processing
After the print is finished, some objects may need additional work, such as:
- Removing support structures (temporary scaffolding printed to support overhanging parts).
- Sanding or polishing the surface for a smoother finish.
- Painting or assembling multiple printed parts.
Summary
3D printing turns digital designs into real, physical objects using a precise, layer-by-layer process. It combines creativity with engineering and opens up endless possibilities—from making simple tools and prototypes to producing complex custom parts.
With the right printer and a bit of practice, anyone can start bringing ideas to life with 3D printing.


